Well, today was gonna be a busy day. It’s been raining heavy
at night, and was raining on and off in the morning. However, I had made plans
a week ago, with my buddy who’s been in construction for a while, that he will
come over and help me put up the walls and trusses. No rain will stop us now!
So this is where it gets fuzzy. Because we were rushing to
get as much done as possible while I had his help, I missed getting any photos
of the work as it progressed. However, I’ll try and do my best to recollect
what we did and how.
At first, we nailed the ¾“ pressure treated plywood sheets
to the floor over the rigid insulation. I decided not to glue the floor or the
insulation. The sheets were placed such that the butt joints are staggered to
provide a more solid floor. Also, 2 butt joints met right in the middle of each
joist to have enough room to secure both sheets.
 |
| How the subfloor sheets are staggered. |
The sheets were nailed with galvanized nails with ring
shanks. Those rings help hold the plywood from moving up over the years. I also
plan to go back and put some screws in for a better hold.
The parts of the plywood hanging over the floor frame get
simply marked with a chalk line and cut off using a circular saw.
 |
| Subfloor complete. |
 |
| Staggered subfloor. |
The next step was to go around the perimeter of the floor
and using a corner angle to get 90 degree corners, we marked off placeholders
for walls’ bottom plates. It was basically a 3” offset from the edge (to
accommodate the wall 2x4 bottom plate) around the perimeter marked with a chalk
line. We started with the 14 foot wall on the right side of the building. At
first, the bottom plate was put on its side against the floor (the 2” side, not
the 4”) and the top plate was put right next to it the same way. All the studs
were marked at 16” on center on both the top/bottom plates. The window location
was marked as well. Then, the top plate was taken away and the bottom plate
placed right along the marked chalk line and nailed in 3 places to the
subfloor. Again, while laying on its side. These nails would hold it temporary
from moving while the wall is assembled. The nails would come out once the wall
was tilted up.
So, with the top and bottom plates of the wall separated
out, we laid out the studs. Remember, saunas have a 7 foot ceiling, not 8, so
cut your studs to 7 feet minus the 3” to accommodate for the bottom and top
plate. So a stud should be 7’ x 12”= 84” – 3” = 81”. One thing I learned—the stores
sell 7’ studs. I thought 8’ was the shortest- could have saved $.
At this point, without nailing anything, the window rough
opening was framed out as well. The windows I bought had both a window size and
a rough opening dimensions printed on the packaging. We used the rough opening
values to frame the opening. We used the left overs of the 2x10s for headers
and regular studs for the rest of the window framing. Study the photo to learn
how a window is framed:
Once everything was cut and laid out, the studs were nailed
to first the bottom plate then the top plate by lining up the 16” on
center marks we made in the beginning. Once the wall was nailed up, we measured
the diagonals to make sure the wall was squared. Once everything was good, we
were ready for plywood sheathing.
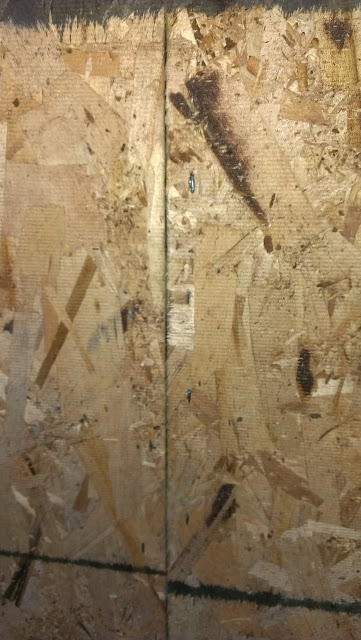
The sheathing comes in ½” thickness of 4x8 sheets of OSB
(cheap $8/sheet) (not pressure treated). We bought 28 sheets.
Starting from one side of the wall and placing the 8’ side
of the OSB sheet from top to bottom, the sheets were placed on the wall. The
top of the sheet was placed on ½ of the thickness of the top plate and the
bottom piece hung below the bottom plate. The sheet was then attached to the
wall using special U shaped staples with a special air gun. I later learned
they’re called Crown Staples. Seemed like it was stapled every 6” or so on every stud and bottom/top plates. If you
look at the OSB sheets, they are marked with black lines on one side—those are
guides for nailing. It’s important that that side of the OSB go to the outside
of the building. Also, remember to cut the sheets if necessary such that 2
sheets can meet together on a stud.
The rest of the sheets were added to cover the wall with the
last piece measured and cut before being attached. We now had one wall framed,
with a rough opening for the window, and sheathing attached to the outside. We
were now ready to raise the wall. With 3 of us at different corners, we raised
up the wall to be vertical. The nails that held the bottom plate temporarily in
place came up on their own and the wall automatically stood up right on the
chalk line we placed earlier. I was amazed. After making really small
adjustments to how the wall set on the chalk line, it was nailed to the floor
with 2 nails by every stud. Then, the wall was braced on the outside to the rim
joist with left over 2x4s to keep it from falling just in case.
Up next was the opposite wall. Exactly the same framing.
Once it was tilted up and secured, the front entrance wall was framed on the 3rd
wall. A rough opening for the entrance door was framed with an extra inch on
each side and the wall was tilted up and secured to the floor. The back wall was
last and easiest to frame because there were no doors or windows.
 |
| Door rough opening frame |
Once all 4 walls were up and secured on the bottom, they
were then leveled with a level and secured to each other. We now had 4 walls. 2nd top
plates were then nailed to the tops of the walls and the joints were staggered
with the initial top plate joints.
Before the trusses could come up, we went around and leveled
and braced each wall to the floor. A long 2x4 was nailed to the top of each
wall in the middle. Then, in the middle of the building floor, 2x4 blocks were
nailed to about a foot height. While one person stood with a level against a
wall confirming everything was good, the other person nailed the long 2x4
support to the floor blocking securing the top of the wall from going anywhere
while the trusses were installed.
 |
| The photo is from the future-- but shows the bracing I'm talking about. |
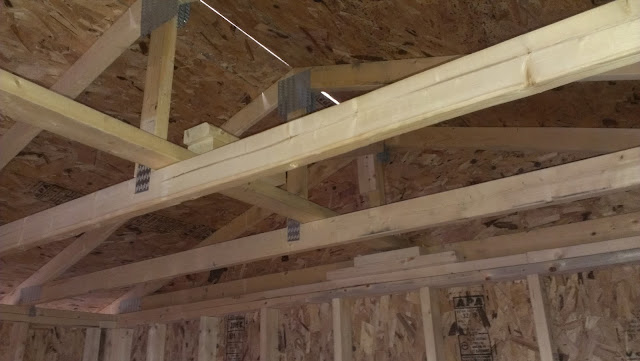
Next were the trusses. With only a 12’ span, they were
pretty light—around 30lbs each. Just like studs, the top plates were marked
every 24” on center for the locations of the trusses. We had 2 people placing
them upside down (the peak facing the floor) on the top of the walls. Once two
guys climbed up the ladders on both sides of the building, they tilted the
first truss up and nailed it to the top plates at the marks flush with the outside wall. It was toe nailed
on both sides through the truss gusset plates along both walls with a regular
hammer. Now this part I didn’t see clearly because I was on the bottom and it
was dark, but I believe 1 8-10” long nail was also put in to the end of each
truss to connect it to the top plate of each wall. Same was done to the rest of
the trusses which were placed 24” on center. I plan on adding hurricane ties as
well when I have some time.
 |
| A lesson I learned is make sure the middle of the hurricane tie is above the top plate so it doesn't interfere with the ceiling when it comes later. This particular tie was later re-done. |
 |
| see the difference? :) |
Once all the trusses were up and secured on both walls, they
were braced through the middle by running a 2x4 through the top of
the rafters, marking 24” centers and securing the trusses at the markings with nails.
Finally the first and last trusses were leveled vertically with a level and
braced.
At this point, it was around 9p, and dark. We used a light
to finish our work. Unfortunately, we did not get to sheath the roof, or finish
building the eves and soffit or the front and back overhangs. That’s a job for
the next weekend. :)


No comments:
Post a Comment
Would love to hear your comments, ideas, questions, and suggestions!