With the extra day off due to the Labor Day weekend, I had
some extra time to Labor J
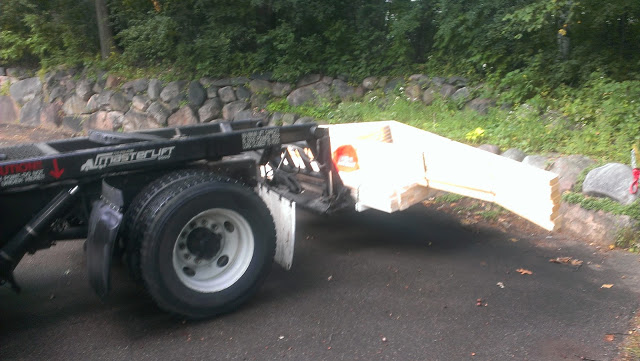
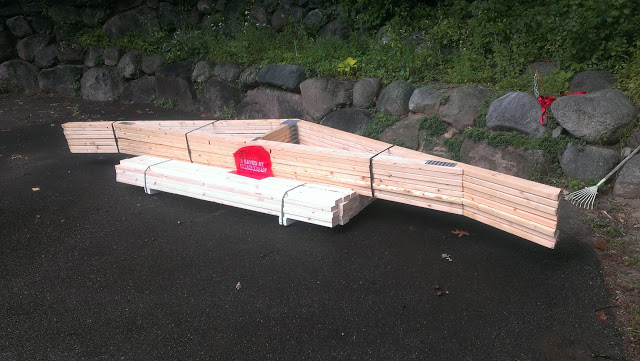
Also, my order of studs and trusses was delivered this morning!
 |
| Roof trusses being delivered. |
 |
| Trusses and studs ready for building. |
As you recall, I was on the fence about insulating the floor. On the one hand, I was told it wasn’t necessary and personally didn’t want to spend more money on things I didn’t need. However, my biggest fear was that I’d have a sauna that’s not quite hot enough. While gathering more info on saunas from the web, I stumbled on this website:
I really liked the lighting he used. After emailing back and
forth, he confirmed my fear of a cold floors, so I went ahead and opted to insulate.
I learned all I needed to know about insulating the floor
from this great video:
One piece of advice is to make sure the rigid insulation you
purchase is acceptable in an outdoor environment- not all of them will stand up
to the elements. I went with Owens Corning FOAMULAR 150 2 in. x 4 ft. x 8 ft.
R-10. I believe the 250 one is acceptable to be buried in the ground, but since
we don’t need to do that—saved a few bucks.
There was 2 of us working, and surprisingly, it took a lot
of time to finish—still not sure why. We worked from about 12p-8p and got it
done. As we were running out of time, 1 thing we did differently from what the
video recommended is instead of nailing wood blocks to hold the insulation in
place, we nailed 2 galvanized nails in each place that needed the support. They
were nailed 2” from the top of the joist—the thickness of the insulation. It
seemed fast, easy, and I think will serve the same purpose just as well.
 |
| Nails used to hold the rigid insulation in place. |
 |
| View of floor rigid insulation in place from underneath. |
It was late when we finished placing and bracing the
insulation, so we would attach the plywood the next day.

No comments:
Post a Comment
Would love to hear your comments, ideas, questions, and suggestions!