Every year, usually in spring time, we try and spend one day
on cleaning out the sauna. After using it one to two days per week over the
course of a year, there’s a lot of dirt that builds up on the floors and grime
on the benches. Also, it’s been about 3 years since we cleaned the chimney, so
we figured it should be done as well. We started with the chimney first.
I looked online and found a local hardware store that sold a
6” chimney brush and chimney extension rods. Two points I should mention here:
1. The size of the chimney brush must match the
size of your chimney. We have a 6” chimney, thus I bought a 6” brush.
2. We have a stainless steel chimney. Stainless
steel chimneys require a poly brush—not metal. Metal brushes will scratch a
stainless chimney.
With both the brush and rods in hand, we went up on the
roof. While being up there, we also swept the roof clean of branches that have
accumulated as well as trimmed a few branches that have grown. With that done,
we removed the chimney cap.
 |
| Removing the chimney cap |
It was amazing how dirty the cap was. Between
spider webs and creosote, it was pretty restricted. The cap was brought down to
the ground. Next, we were trying to figure out how best to clean the chimney. We
decided it was best to take apart the pipe going from our stove to the support
box in the ceiling. After unscrewing the screws holding the pipes together, we
tried to get the pipes to move. After being used for 3 years, some rust
developed welding them in place. Also, there’s about an 8 inch pipe that sits
in the support box. The black pipe that attaches to it, needs to slide up that
8” pipe in order to make room for the bottom pipes to be removed. A trick I
learned is to use some WD-40 on that 8” pipe in order to get it slick for the
lower pipe to slide on it. That WD-40 will then burn off. After some addition
of elbow grease, we were able to get the pipes to move.
Having removed the lowest pipe, we used a vacuum to vacuum
out all the creosote that has accumulated inside the stove. We then put a
bucket underneath the pipe that was still hanging and used our brush from the
roof to push through the chimney and the rest of the pipes.
 |
| Putting the chimney brush in to the chimney to sweep |
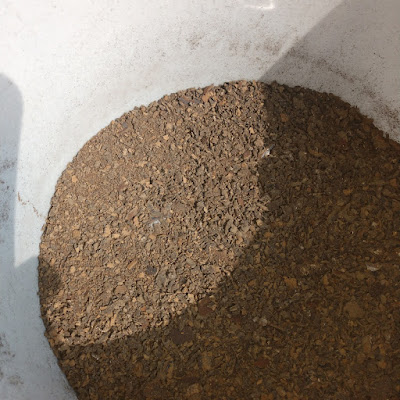
The creosote then collected in the bucket. We then used the
brush to clean out the first pipe that we took off from the stove as well as the
dampener inside of it. Once we could see through the pipes & chimney that
all were clean, we assembled everything back together with the help of some
more WD-40 on the top pipe near the support box.
 |
| Creosote from the chimney |
 |
| More creosote from the chimney |
You always hear that creosote causes chimney fires. We now
had a bucket of creosote. I couldn’t help but experiment with it. I took a
piece out of the bucket, put it on the ground and lit it on fire. The piece
didn’t have a flame, but seemed to smolder very well for a good while.
 |
| Smoldering creosote |
With the chimney cleaning complete, we were on to cleaning
the rest of the sauna. First, all the furniture was removed. Then, the rug in the
changing room was removed followed by all the benches from the hot room. The
floors were then swept and mopped with some antibacterial mixed in to the mop
water like Mr. Clean or Pine Sol. The floors were left to dry.
For the benches, I’m lucky enough to have a pressure washer.
I once found online an antibacterial solution that’s used for sauna benches. The
product is called Super Puhdas Sauna cleaner. Supposed to be safe on wood. I
ordered a bottle online the first time I cleaned my sauna.
 |
| Super Puhdas Sauna cleaner |
I mix some in to a
water bucket then using a plastic bristle brush dipped in to the water, begin
to clean the benches. This gets rid of the nasty sweat that has accumulated
from a year’s use.
 |
| Sauna cleaning solution |
The benches then get power washed to further remove the
grime.
 |
| Power washing the sauna benches |
I use the same solution to clean and disinfect the folding
lawn chairs we use in our sauna for sitting. They also get a course of power
washing to hose them down.
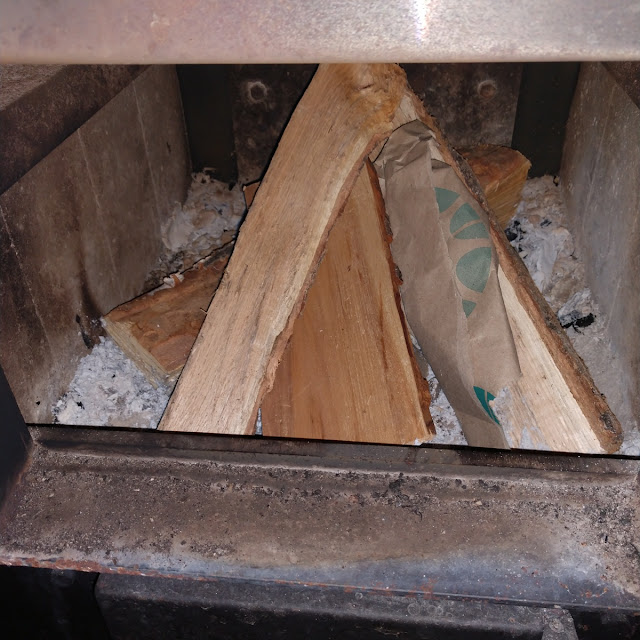
Now that the chimney is clean, the floors are swept and
disinfected and so are the benches and chairs, it’s time to put everything back
in to its place. It is also time to fire up the stove to see how much better it
works, to burn off that WD-40 which should have been drying for a few hours
while we cleaned the rest of the sauna. It’s also a good time to enjoy the
sauna. It’s been a long day with lots of physical labor which calls for an evening
sauna to relax and have a few beers.
Cheers!


