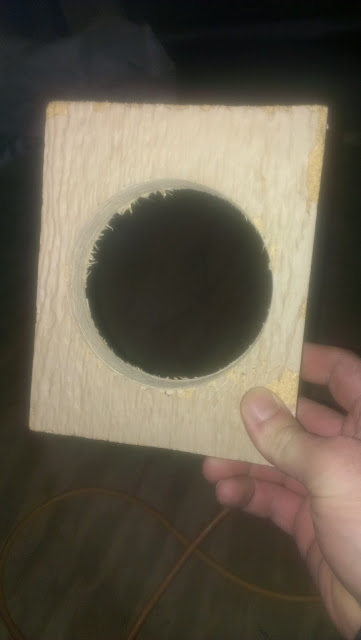
12/8/15 UPDATE: I had previously sent an email to DuraVent asking if this was an acceptable method. They confirmed it was:
This
would be an acceptable method instead of the attic insulation shield.
It is referred to as an enclosure, making sure you maintain the minimum
2” clearance
to combustible walls. Refer to DuraPlus Installation Instructions.
The Attic Insulation Shield cylinder portion of the component can be trimmed down, also.
Kimberly XXXXX | Technical Support Representative
|
The reason I trusted what he did is because he had a good point. The hole in the roof requires a 2” clearance from the chimney to the combustible wood roof. Also, the support box is framed in by 2x4s per the chimney installation instruction. If both those clearances are to code, then using the same material but a lot further than 2" away should be fine as well. So, I used the leftover sheathing to go from the enclosure of the chimney support box all the way up to the roof- about 1.5 feet. Also, I believe in the chimney installation instructions, it talks about a chimney running through the 2nd story of a building, so something similar would be used. So, that’s exactly what I did. Furthermore, if you look at the “attic insulation shield” it has plenty of gaps for mice and such to still get in to the support box. I went ahead and used some clear silicon caulk to seal any gaps I had as an extra precaution.
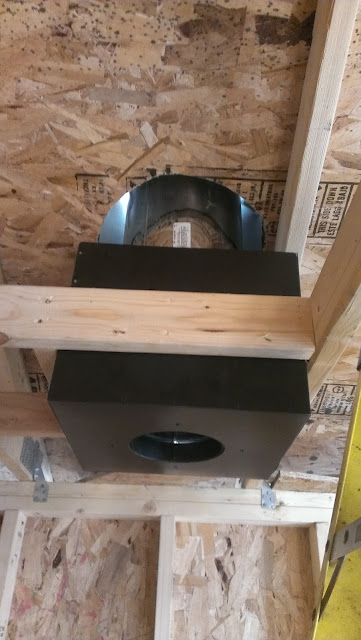 |
| Boxing in the chimney in the attic. |
 |
| Boxing in the chimney in the attic. |
 |
| Boxing in the chimney in the attic- all done. |
Next, we went after the wall that divides the hot room from the lounge. If you remember, when we built it, we never fully installed it. At the time, we were still trying to figure out the layout and such. Today, we were certain enough to finalize the wall installation. Our ideal placement was under one of the trusses to offer extra support to the structure. That still gave us plenty of space for our stove clearances. We marked the wall location on the floor. Nailed the bottom plate to that location and after leveling and squaring the wall, we secured it in place on the top plate and both side studs. With the wall now in place, we could wire in the can light that is in the hot room. I installed a junction box on to the wall to the right of the hot room door and ran a dimmer in it. Now the hot room light is dimmable.
[PHOTO COMING SOON]
Another task left to do was to tidy up the wiring. Now that all the junction boxes were installed and wires have been ran everywhere (even though some switches and outlets have yet to be installed as the wires are just tied together at this point), we were in the right position to clean up the wiring. Using special cable staples, we stapled the wires to the studs carefully grouping them together. The idea is to staple the wires 6” from the junction box, and every foot from there on.
 |
| Stapling the wiring to the studs. |
Since we will be nailing our cedar boards on the ceiling going perpendicular to the trusses, we needed a nailing surface both at the front of the building and the back. We nailed 2x4s putting them flat on their face and nailing them to the top plate with ½ of the surface area perpendicular to the top plate showing. These will provide nailing surfaces for our ceiling cedar boards. We have yet to go through our walls and see where we need to nail on the same extra 2x4s to provide an extra surface to attach the cedar.
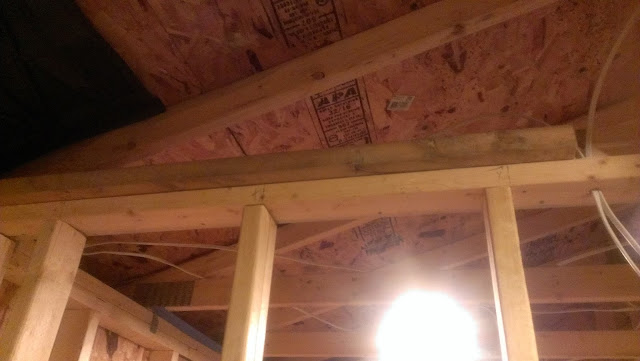 |
| Nailing plate for ceiling cedar boards. |
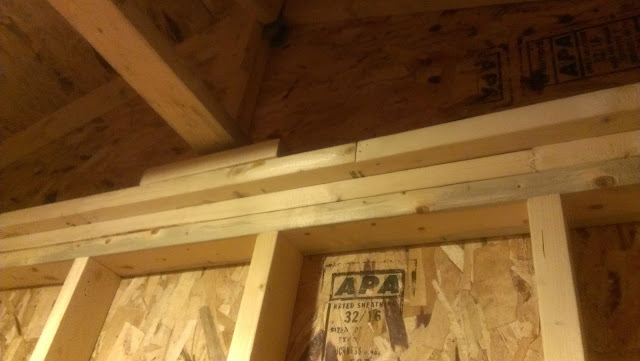 |
| Nailing plate (other wall) for ceiling cedar boards. |
As usual, due to prior commitments, we ran out of time. However, we made good progress. We only have a few things left before we cover up the walls and ceiling:
- Create nailing surfaces on the walls for cedar boards.
- Nail extra 2x4s for supporting the benches in the hot room.
- Create a vent in the hot room—a small window (about 4” x 8”), on the wall opposite from the stove, which we can open to let the fresh air circulate (convection).
- Put in a junction box and run speaker cables for my in-ceiling speakers I found on CraigsList.
- Install attic ventilation baffles to prevent the insulation from cutting off the fresh air supply to the attic coming from the soffits.


