Now that we have a fully enclosed building, I wanted to get
the electrical in. I’ve spent a little bit thinking about what I wanted—then it
was just a matter of making it work.
I knew I wasn’t gonna have a permanent connection to
electrical. Didn’t want to deal with it. But, what I wanted is to run an
extension cord to the building and plug it in when I was gonna use the sauna. Luckily,
Menard's sells something called an Inlet—the opposite of an outlet. Basically,
it’s a male prong that sits in place of an outlet. It’s made for the outdoors
and sits inside a weatherproof outdoor junction box you buy separately. So for
about $15 total, you can have an RV-like setup. Works perfectly for me.
 |
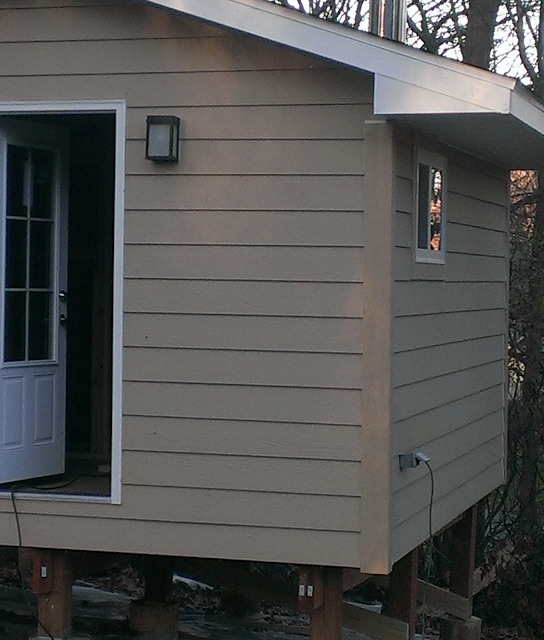
| Sauna is powered by and extension cord plugged in to it like an RV. |
Next, for the inside, I wanted 3 outlets—just in case I need
the power to run tv, or audio or whatever. I nailed the junction boxes on 3
different walls in locations that won’t get in the way. Btw, a trick to place
outlet junction boxes is to put your hammer on the floor with the head down.
Where the handle ends—that’s where the outlet junction box should begin.
Next, the lights. I figured I just put in can lights so that
I don’t use any of the limited space I have for protruding lights. Since cans
can be used in moist environments such as showers (not just any cans), I
figured it would work. I bought 3 cans. They are rated for contact with
insulation—IC rated, and with the proper trim (sold separately) can be used in
the hot room. I put 2 cans up in the changing room, and one can in the hot room.
Still trying to figure out if I want 1
or 2 there.
Finally, I figured we’ll be hanging outside a lot to cool
down. One side of the sauna is perfect for that. So, we’ll need some flood
lights there and while I can do it—I’ll put an outdoor outlet in as well—just in
case we ever need it—Christmas lights? J
 |
| Outdoor flood and outlet. |
The floodlight kits are all different prices. However, I
need light—nothing fancy, so I went with the $10 basic 2 bulb kit. It’s outdoor
rated, comes with the outdoor junction box you hang on the outside of the
siding and bulbs are easy to replace. Same goes for the outlet—and outdoor box
will keep it safe in all weather.
Finally, to run everything, I put a junction box by the
entrance on the inside for the light switches I will have 1 switch run the
outdoor floods, one run the outdoor entry lights and one dimmer run the
changing room cans. I will take care of the hot room lights/switches once I
build the hot room wall J.
One note of advice—at first, I placed the junction boxes where I wanted them—but
didn’t nail all the way. I left it like that for a few days. I noticed later
that a few of them didn’t work well where they were—so I easily swapped them.
Then nailed them permanently.
The plan for wiring all these things was kinda simple as
well. I started with my inlet since that’s where the power comes in. I bought a
roll of 250 feet of simple gray 14/2 Romex. I don’t need a thick cable since I
won’t be pulling much amps. With 3 outlets and a few lights—I should be way
under. At first, I installed the inlet weather junction box on the wall that
wouldn’t have much traffic (just a personal pref) I put a bead of regular
silicone around the hole of the box where the wire comes in and screwed it to
the outside wall. I then ran a bead of silicon around to prevent the water from
getting in. Just make sure the place you put the box is clear on the other side
of the wall—no studs or wires. I then
took a spade drill bit and drilled through the junction box hole and through
the wall. From there on, it’s a little
common sense and a little knowledge to get it all done. Here are some rules.
2. Things can be wired in series or in parallel. If you want 1 switch to control 3 lights—wire those lights in series. If you want to have a switch control 2 lights and an outlet—run the outlet in parallel- but the lights in series. More is available on the web J
3. Make sure you’re connections are good and tight- not loose. Try tugging on each wire to make sure it doesn't come out.
FYI… if you’ve never done this before—do some research on the web. That’s how I learned back when I was finishing my basement. It’s pretty straight forward.
To make things quick—I didn’t yet install any switches—instead
I tied the wires together where they would have been broken with a switch—I’ll
add those later—right now I just needed light J
At this point, I have all my lights/outlets wired except for
the hot room can. I’ve used up about 200 feet of my 250 ft Romex. There’s still a few things left to
do:
1. There are special wire staples that are used to keep wires in place. You have to staple the wires 6” from the junction boxes and every 12” from there on.
2. There are nailing plates that need to be nailed to the studs/top plates where the wires run through holes. This is to prevent nails from being nailed in to the wire.
3. Need to install light switches.
But that can be done later—what’s done now is that I have
lights and power. With the sun setting around 530p, that’s much appreciated.
 |
| Light Switches Go Here. |
 |
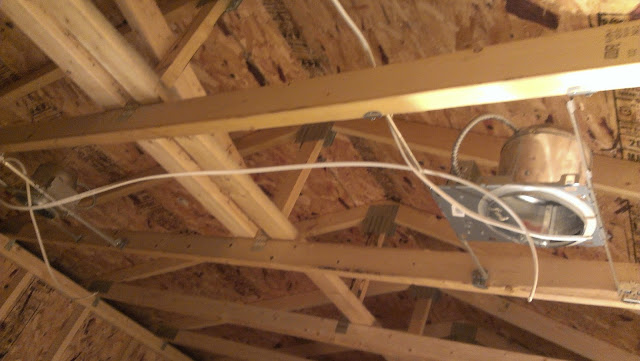
Look at those cans :)
|
 |
| Can lights all hooked up. We got lights! |
 |
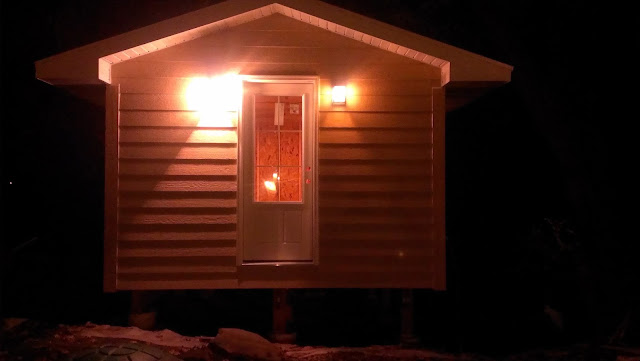
| Sauna lit up at night. Now that's just beautiful! |
 |
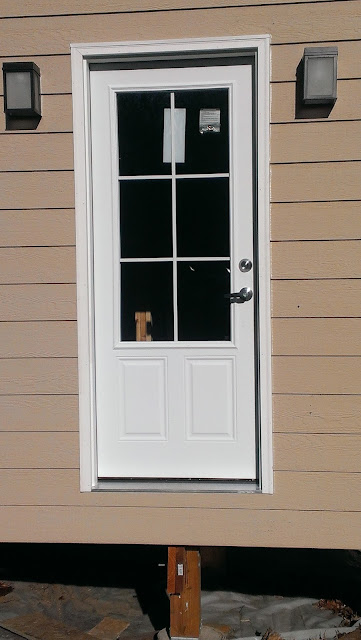
| Sauna entrance lights in daytime. |

Enjoyed reading the article above, really explains everything in detail, the article is very interesting and effective. Thank you and good luck in the upcoming articles
ReplyDeleteElectrical Junction Box