For the roof, we pretty much only had the ridge to finish. The ridge uses special ridge shingles. They come in the same length pieces as the regular shingles, but they're perforated--and meant to be separated in to 3 pieces. They go over the ridge with the same idea in mind as the regular shingles go on the eaves. You put one down at the edge. Nail it. Use the 2nd one to cover the nails and attach it. And you do this until you reach the end in which case you put some silicone over the nail heads of the last piece and call it a day.
| Silicon over exposed nail head on roof shingle. |
One other thing left to do was the holes in the sheathing for the electrical boxes for the outside lights. You can go 2 ways here-- you can use the outdoor boxes that go over the siding and protrude out, or you can make it cleaner by cutting a hole in the wall and installing the junction box on the inside of the building. I've opted for both. On the front, I have internal junction boxes-- on the side where we'll hang out to cool down-- I'll use and external box. That's because I plan to put a flood light there and thought it's easier that way :)
To put in the junction boxes, I ended up buying a 4 and 1/8" Hole Dozer Hole Saw attachment that goes on the drill.
{PHOTO COMING SOON]
Then I marked the location next to a stud on both sides of the door opening and drilled the holes. I attached the round electrical box in to both opening getting it to be flush on the inside of the building with the sheathing and protruding as far as possible on the outside.
[PHOTO COMING SOON]
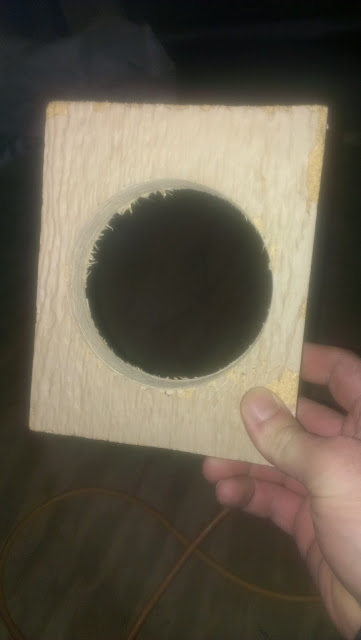
The next step was to cut out the template for the outside lights to be attached to. I used the 6" wide trim pieces we had for siding. I cut it to about 5" so I had two 5" x 6" pieces of trim. I then took the Hole Dozer and cut the junction box holes in both pieces. These pieces get attached to the sheathing on the outside right over the protruding junction boxes. Siding then goes around these templates.
 |
| Junction Boxes For Lights. |
Before putting in the door, I re-measured the opening to make sure it fit. Then, we used the same rubber membrane that we put on the bottom of the window openings. We laid this membrane on bottom under the door and about 6" up the rough opening. With the membrane in, I put a bead of regular silicone around the door as well as under the threshold and put in the whole pre-hung door in the rough opening. I then used a level and some shims to make sure the door was square. I checked closing and opening the door a few times to make sure it worked well. Once I was sure, we used a pneumatic brad nailer and nailed the door assembly through the trim that it came with in to the rough opening of the door. Then, I took out 1 screw from each of the 3 door hinges and replaced it with a long screw that would penetrate the door frame and go in to the 2x4s of the rough opening. That’s the standard way to install a door and made it secure. With that—we had a functional door. Next I needed some locks and could start keeping tools in the sauna instead of the garage.
A friend of mine that was helping out does siding for a living. He was guiding the hanging process with another buddy who would cut the LP siding boards to the right sizes. I was busy working on other things-- so I can't tell you much about the dos and don'ts of siding. However, from what I’ve seen, first you start with the trim. Trim on the corners (L-shape) and around windows. Then, you start at the bottom, pick a starting point. Take a piece of siding and cut it to size of the wall. Make sure it’s level and nail it on. The next piece laps over it going up with about a 1” lap. One thing I noticed, he had a special tool that he used that set the right overlap. Not sure what it’s called. When putting up the siding, leave a ¼” gap between the siding pieces on the side and the trim pieces on the sides. You then fill that gap in with the special siding silicone sold at the big box stores. The rest is just cutting the pieces to fit.
The siding took us a couple of weekends to finally finish, but once it was done—we had a real building! :)
 |
| The siding is up and the door is in. |


Best Work !
ReplyDeleteAce Top Roofing is the roofing company for you! With years of experience in shingle roofing, it is now extending its services to homeowners throughout Connecticut. From new roofs to replacement roofs or expert roof repairs, it is here to protect your homes with excellence and professionalism.
Ace Trusted Shingle Roofing Company