So, last time, I left off with a list of things to finish
prior to insulation. Some of those things I realized I didn’t need to do, some I rushed through and forgot
to take photos, some I did and took pictures—here’s the previous list below:
- Create nailing surfaces on the walls for cedar boards.
- Nail extra 2x4s for supporting the benches in the hot room.
- Create a vent in the hot room—a small window (about 4” x 8”), on the
wall opposite from the stove, which we can open to let the fresh air circulate
(convection).
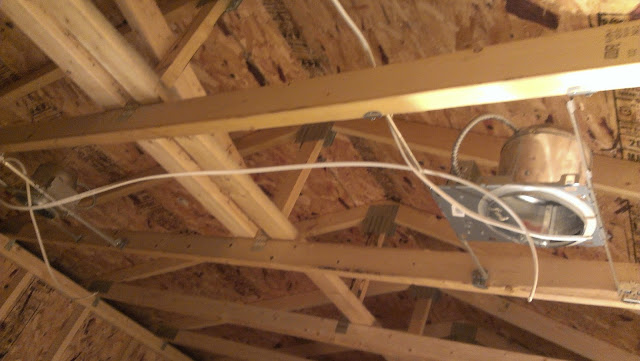
- Put in a junction box and run speaker cables for my in-ceiling speakers
I found on CraigsList.
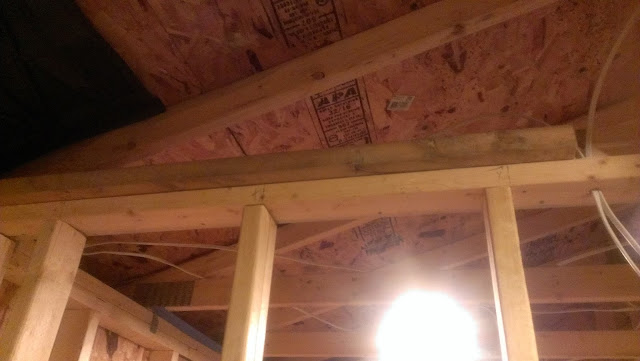
- Install attic ventilation baffles to prevent the insulation from cutting
off the fresh air supply to the attic coming from the soffits.
1. The only place I needed to add nailing surfaces for cedar
was on both sides of the wall that divides the hot room from the changing room.
We simply added 2x4s to the existing studs to provide more surface to secure
the cedar boards to later. Also, I went though and installed metal nailing plates over all the holes in the studs though which we ran the Romex wires. This is to prevent accidentally running a nail in to an electrical cable.
2. The extra 2x4s for benches we didn’t need. After doing some
more research (not very thorough research), I realized that there isn’t one
complete example online that I could follow. So, having gotten the general
idea, I think I’ll make things up as I go. The one main point about the support
for the benches is this. There needs to be a 2x4 screwed in to studs in the
walls on as many sides of the bench as possible. So, for the corner bench—I can
do it on 3 sides (in the back and on both sides). For the other bench, I can do
it only on the back. Again, more on this later when I get to it but what’s important now is that the support 2x4s
screw in to the studs OVER the cedar—so nothing to do now.
3. Now, on to the vent in the hot room. I’ve laid awake a
couple of times trying to think this through. I thought I had a good idea until
I did it J
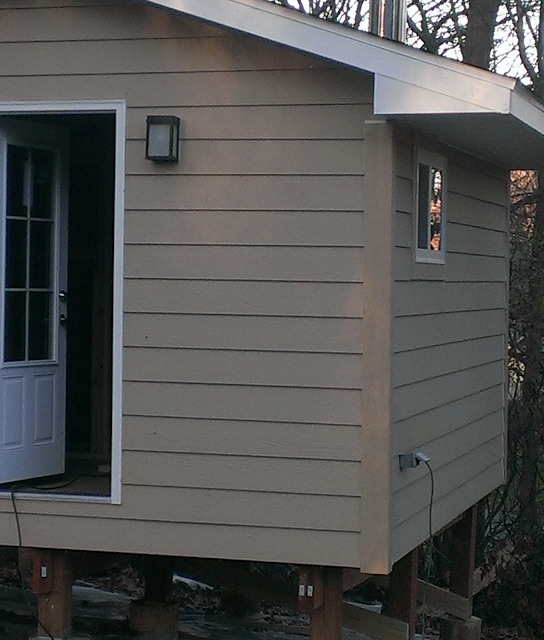
First, because I have lap siding, I needed to make sure I make the hole such
that it’s in the middle of the siding piece and doesn’t cross 2 of them. From
inside the hot room, I measured a rough length from the side of the building to
the first and 2nd studs between which my vent would be. Then, I went
outside, found the placement on the siding where I wanted to be and measured
the same length. Using a small drill bit—I made 4 pilot holes for the
vent. After, I went in, marked my lines
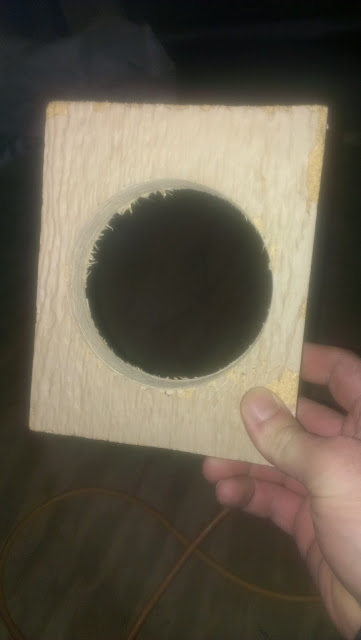
connecting the drilled holes and using a multi-tool sawed through the sheathing
and siding to make the vent hole. What I realized then is my plan was wrong.
The cedar box that I needed to build which would make up the vent opening, had
to pass through the hole I just made—not abut to it. Now I was annoyed that I
made that mistake, and having planned to finish insulating that night, I ended
up rushing things. I made the opening bigger without marking it first, cut out
the hole, assembled my home made (slightly crooked) vent and stuck it in the
opening. Once I was somewhat satisfied, I nailed in place with a brad nailer.
4. For the speaker cables, I used a regular blue electrical
junction box. I hung it on the wall where I thought it would be convenient. I
then ran 4 speaker cables—2 in the hot room—2 in the changing room. Now, one of
the things I thought about is interference with electrical cables. Because I
ran my speaker cables through the same holes as I ran the Romex, I thought
there may be a hum. Looking online, the debate rages on. People recommend
running speakers at least 12 inches from Romex. I neither had time nor too much
space to have 12" clearance for speaker cables. So I left things as is. I’m
pretty sure I’ll be OK—but even if there is any slight hum—this is a sauna—not a
concert hall. I’m not worried.
5. As with anything else—opinions differ about attic
ventilation. Some say you don’t need to do it, some say you must. Same with
insulation in the attic. I, however, wanted to be sure my sauna was HOT. Since
I won’t get a chance to come back and change things, I’ll err on the side of
caution. First, if you remember, my
soffits are the vented kind. That means there’s fresh air coming in from them
on 2 sides of the building. Since when I put up the fiberglass I will
probably end up blocking that
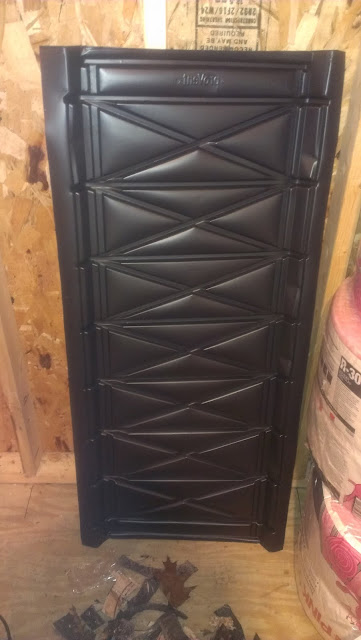
ventilation, I needed to put in something to prevent the blocking. Enter Attic Ventilation
Baffles.
 |
| Attic Ventilation Baffles |
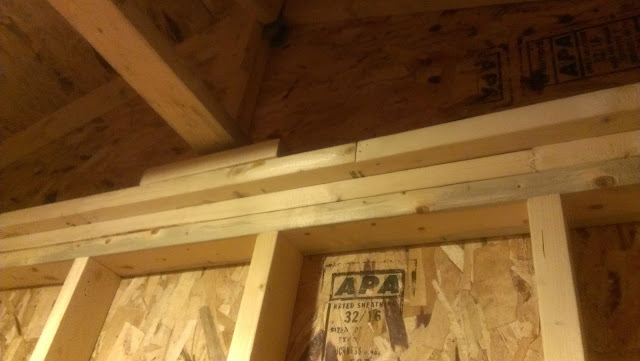
Attic Ventilation Baffles are simply plastic sheets which
attach right to the roof sheathing (make sure your staples are not longer than
the thickness of the sheathing) and create a duct over insulation for the air
to get to the attic from the vented soffit. It took me a little research and trial & error to
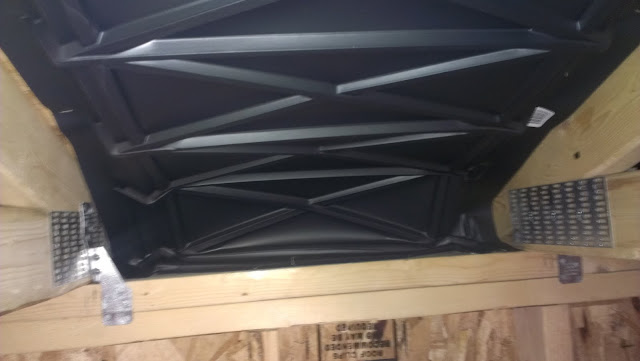
figure out how they install but in the end, I think I got it. You start by
stapling the edge to the top of the top plate of your wall. Then, you bend it
in so it’s horizontal with the soffit bottom and attach it to the roof sheathing
above with more staples. At first they seem long, but that’s a good thing. That
way they drive air over the fiberglass instead of into it.
 |
Attic Ventilation Baffle Installed
|
 |
| Attic Ventilation Baffle-- closer look |
Finally, I went back and installed the light
switches/dimmers and outlets while I still could see which Romex goes where. Make
sure you have one GFI outlet and run the other outlets on the GFI circuit from
it.
Next was fiberglass. There are a couple of nuances with
that. First, our trusses are 24” on center. They sell 24” fiberglass, though
not much of it. In the box store, the fiberglass is laid out under headings
Attic, 2x6 Walls, 2x4 Walls. Under attic, the only choice for 24” they had was
R38—it’s 12” thick. That would almost be to the top of the roof for me. Too
much. The other choice was R19- about 6” of insulation, however, it was under
the heading of 2x6 Walls. On the bag, it said it’s good for walls and crawl space.
To me, attic/crawl space is the same J
So—That’s what I took. The fiberglass comes in rolls that you then trim to your
size. A clean way to do it is with a utility knife—a more convenient way—is just
to tear it J
The other insulation I needed was for the walls. For 2x4
walls, I needed R13 Unfaced. Because we’ll be using the foil bubble vapor
barrier, we don’t want to have a moisture sandwich, so we can’t have insulation
with Kraft paper. This insulation comes in pre-cut batts for standard size wall. Since our sauna has a
lower ceiling to retain heat—I ended up folding in the excess fiberglass at the
bottom.
I started to install the fiberglass with the ceiling. Each
run starts and ends on the wall top plate in the plastic cavity created by the
attic ventilation baffles. Make sure the fiberglass covers that cavity very
well. There’s a lot of cold air there. Then, slowly put up the fiberglass in one
piece, between 2 trusses until you hit the other side of the building. Then cut
the fiberglass. Thanks to gravity, the fiberglass will try to escape the
ceiling to closer acquaint itself with the floor. To prevent that, you can buy
special ties for $20 a pack, or you can do what I did. Simply run a piece of
duct tape from one truss to another to have the fiberglass rest on. Staple the
tape to both trusses for extra hold. One note of caution-- when I installed the can lights, I used specific ones rated IC-- that means they can contact insulation. Make sure yours are the same before putting fiberglass over them.
 |
Ceiling Fiberglass- R19
|
 |
Duct tape holds the fiberglass in place.
|
As you can see—there’s plenty of space still left between
the insulation and roof for air to circulate. This is good.
 |
| Ceiling insulation- photo from above the joists. |
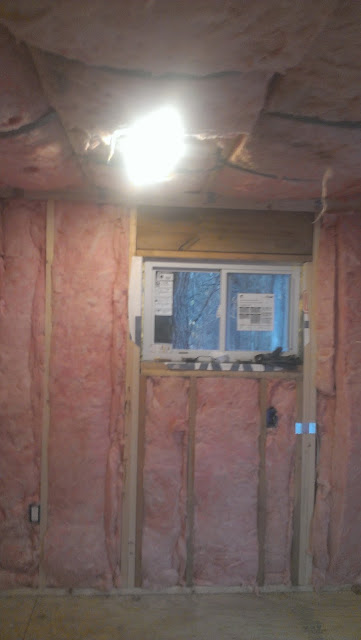
The wall insulation goes a little easier. Simply fill the
spaces between studs. Nothing tries to fall out. For the smaller spaces where
there batts are too wide, you have to use a utility knife to make clean cuts. Don’t
toss the pieces you cut—they’ll be useful elsewhere. Remember to cut the
fiberglass around junction boxes. Also, remember that the insulation value doesn’t
come from stuffing the fiberglass in, it comes from the air space created, so
make sure it’s fluffy and there are no holes between it and the studs.
 |
Wall Insulation- R13
|
 |
More wall insulation
|
 |
Better look at wall insulation.
|
 |
| Insulating the wall dividing the hot room from changing room. |
The last step before bubble foil install is what Glenn, of
SaunaTimes.com , suggests in his e-book on how to build a sauna. That is, to use
expending foam specifically for windows & doors and cover the gaps between
the window frame and the rough opening. We put that foam in around both windows
as well as the entry door. Then, whatever was left, we used to seal any other
gaps which were too small for fiberglass.
Now, with the sauna looking like a room any princes would be
proud to call her own, i.e. pink, it was time for the bubble foil. I should
note, though it was about 40F outside, at this stage you could tell that
something was making a difference. Removing one piece of fiberglass in the
ceiling to adjust something—you could now tell the colder air flow in the attic
versus just cold temp in the sauna.
I ordered a big roll of the foil bubble wrap online. I think
it as 200sq feet and about 4 feet wide. We started in the changing room. We put
the roll on the floor and stapled it to the studs carefully unwinding the roll
as we went around the room. We made absolutely sure that we had each corner
well creased with enough slack in the foil. When cedar goes over this, we don’t want it to
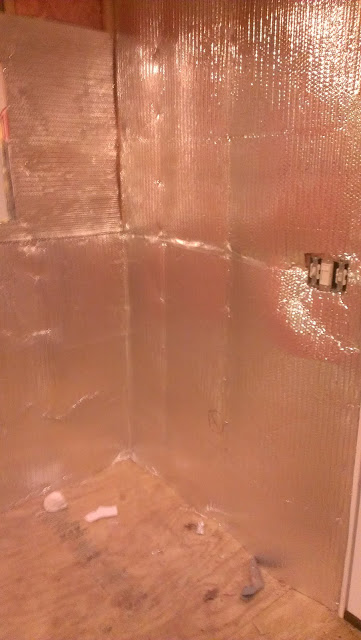
tear from being too tight. Also, we marked all the outlets and junction boxes
we covered with a marker so we could cut them out. This first section only covered the bottom half of
the wall. The 2nd section abutted to the top of the first section and
was creased at the ceiling. Initially we thought we could use that crease—but, because
there was no stapling surface to attach it to, we ended up trimming it off. One
important thing to remember. Our wall that divides the hot room from the
changing room, only gets the foil insulation on the hot room side. The other
side gets nothing but cedar. That way it can breath and not create a moisture sandwich.
Again, this is one of those topics widely debated online—but that’s the
approach that makes sense to me.
 |
| Foil only goes on the side of the hot room. |
Once the walls are covered up, it’s on to the ceiling. Our
first thought was to go parallel to the trusses, but we quickly realized that
perpendicular is the way to go. So, starting at the corner where one wall
intersects with the ceiling, we stapled the bubble foil and continue to staple
it on every truss. Then, we cut the foil at the opposite wall to ceiling intersection. As far as stapling
goes, we generally tried to put a staple every foot on the walls and slightly
less than a foot apart on the ceiling. The foil will also be held in place by
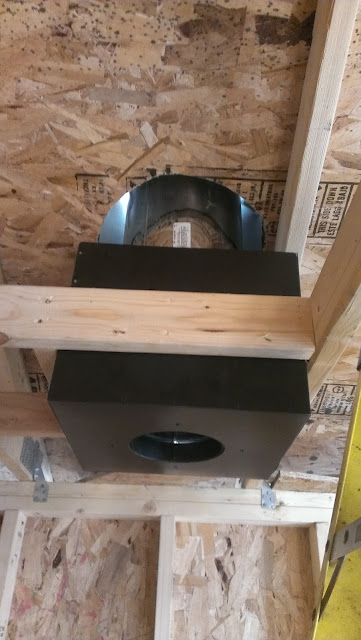
the cedar, so don’t try too hard. When running the foil over the chimney support
box, simply get right up to it and cut the size of the support box in the foil
right on the fly as you’re hanging the foil. Get the box to fit in and continue
stapling. Make sure, however, that the foil sits at least half of the stud away
on the stud supporting the support box. Then, tape it to the stud with foil
tape. The max temp this insulation can take is 180F per the manufacturer.
At this point, we were starting to take layers of clothes
off. With a small electric radiator going, the sauna started getting a lot
warmer and the windows were starting to fog. This foil bubble insulation is
good! One last thing to do is cover all seams with special foil tape to make
sure there’s no air leaks in the foil.
 |
Hot room insulation complete- can you see the foil tape in the middle?
|
 |
| Hot room chimney support box |
 |
| Cut out outlets and switches from insulation. |
 |
| Getting so warm the windows are fogging!! |


